✦ About Upscela

One job, done properly

Most AI platforms do twenty things adequately. We do one thing, and we would like it to be the best there is.

Upscela is an AI image upscaler. You give it a photograph that is too small, and it gives you back a bigger one that still looks like your photograph.
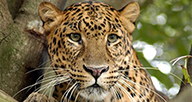
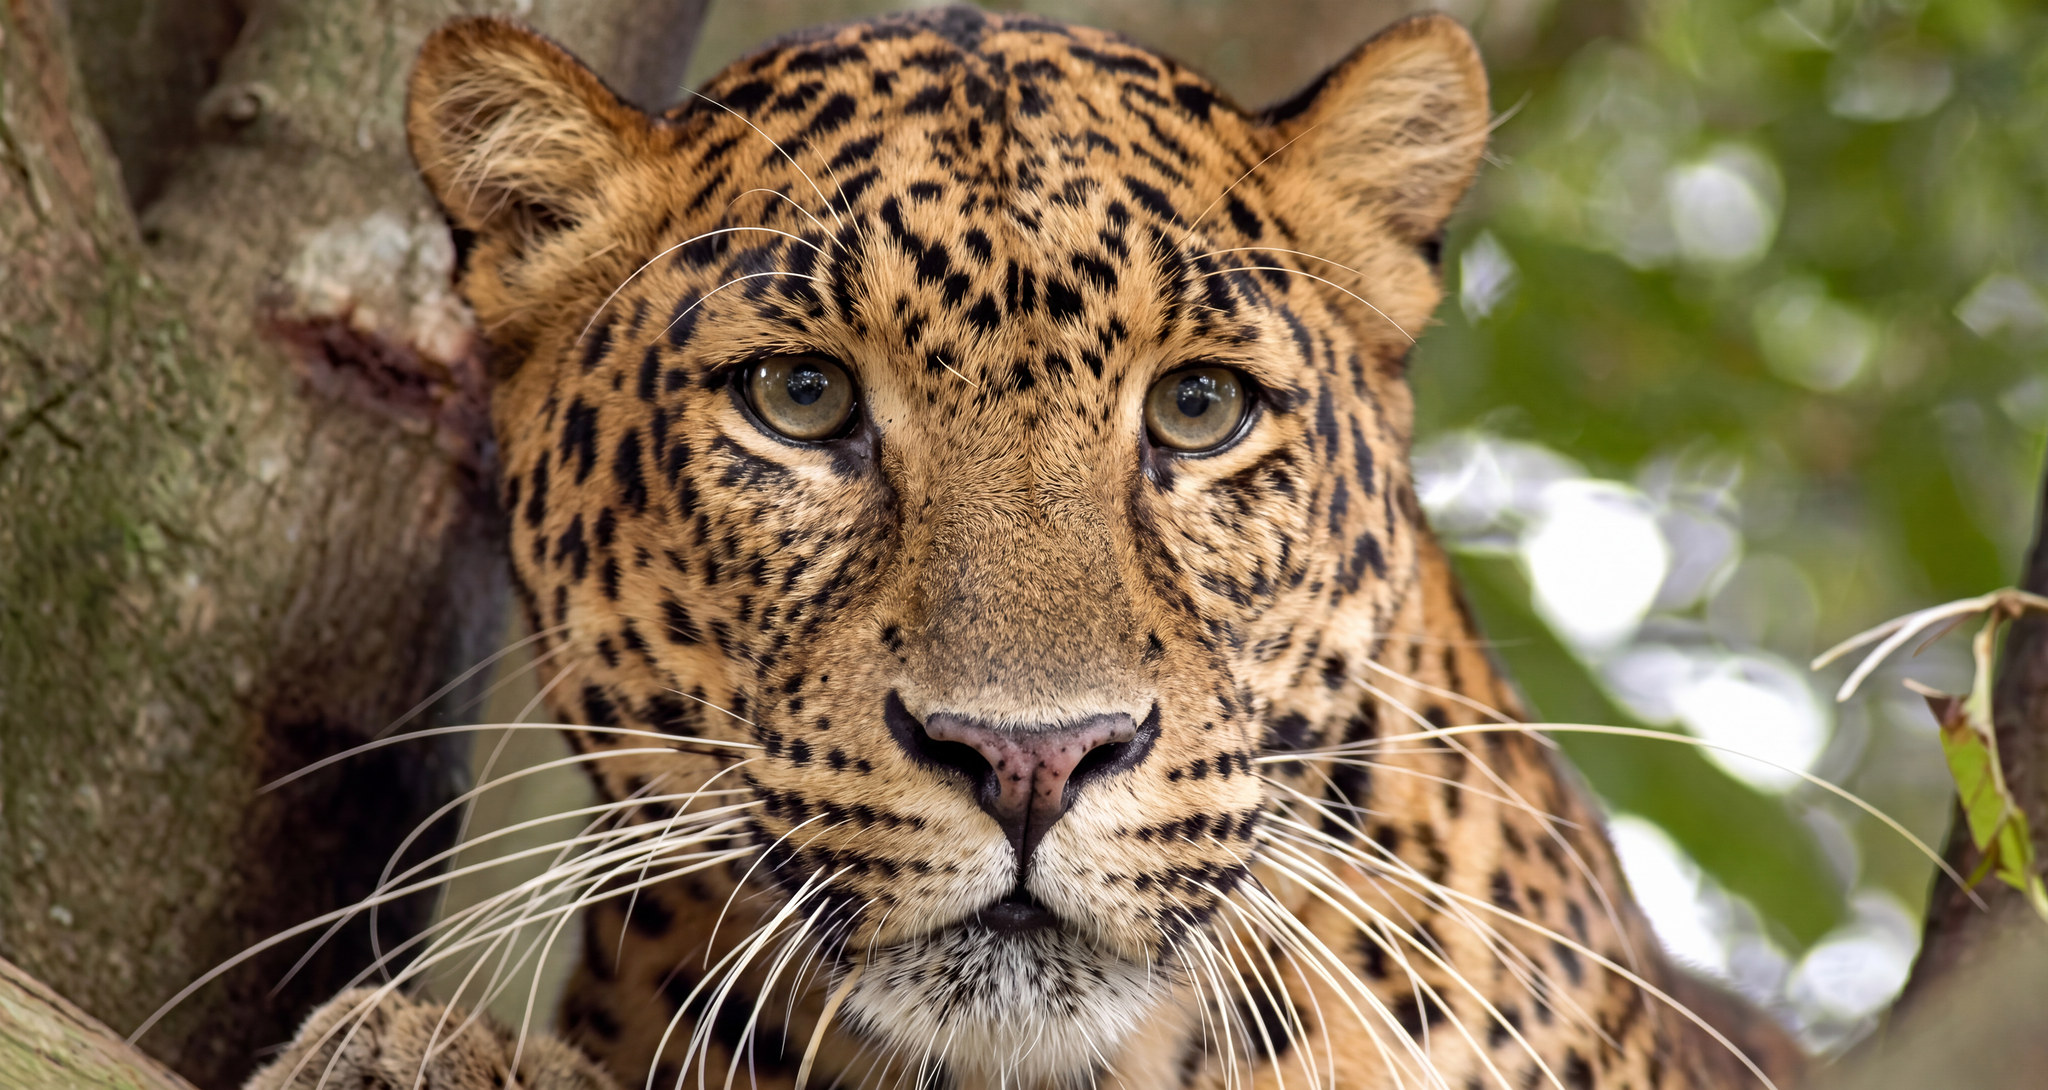
Wildlife photograph before AI upscaling, soft and low resolution
The same wildlife photograph after AI upscaling, fur and whiskers resolved
192 × 102 3840 × 2043
What we actually do

Detail that belongs to the picture

Fur, feathers, weave, brickwork, skin. An upscale should give back the texture that was actually in front of the lens, not a convincing substitute for it, so the picture holds up when somebody leans in. Drag the handle and judge it at full size, which is the only way anybody should buy one of these.

See the full portfolio
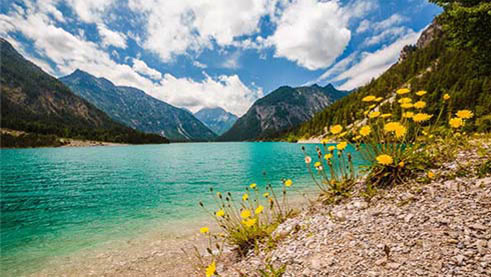
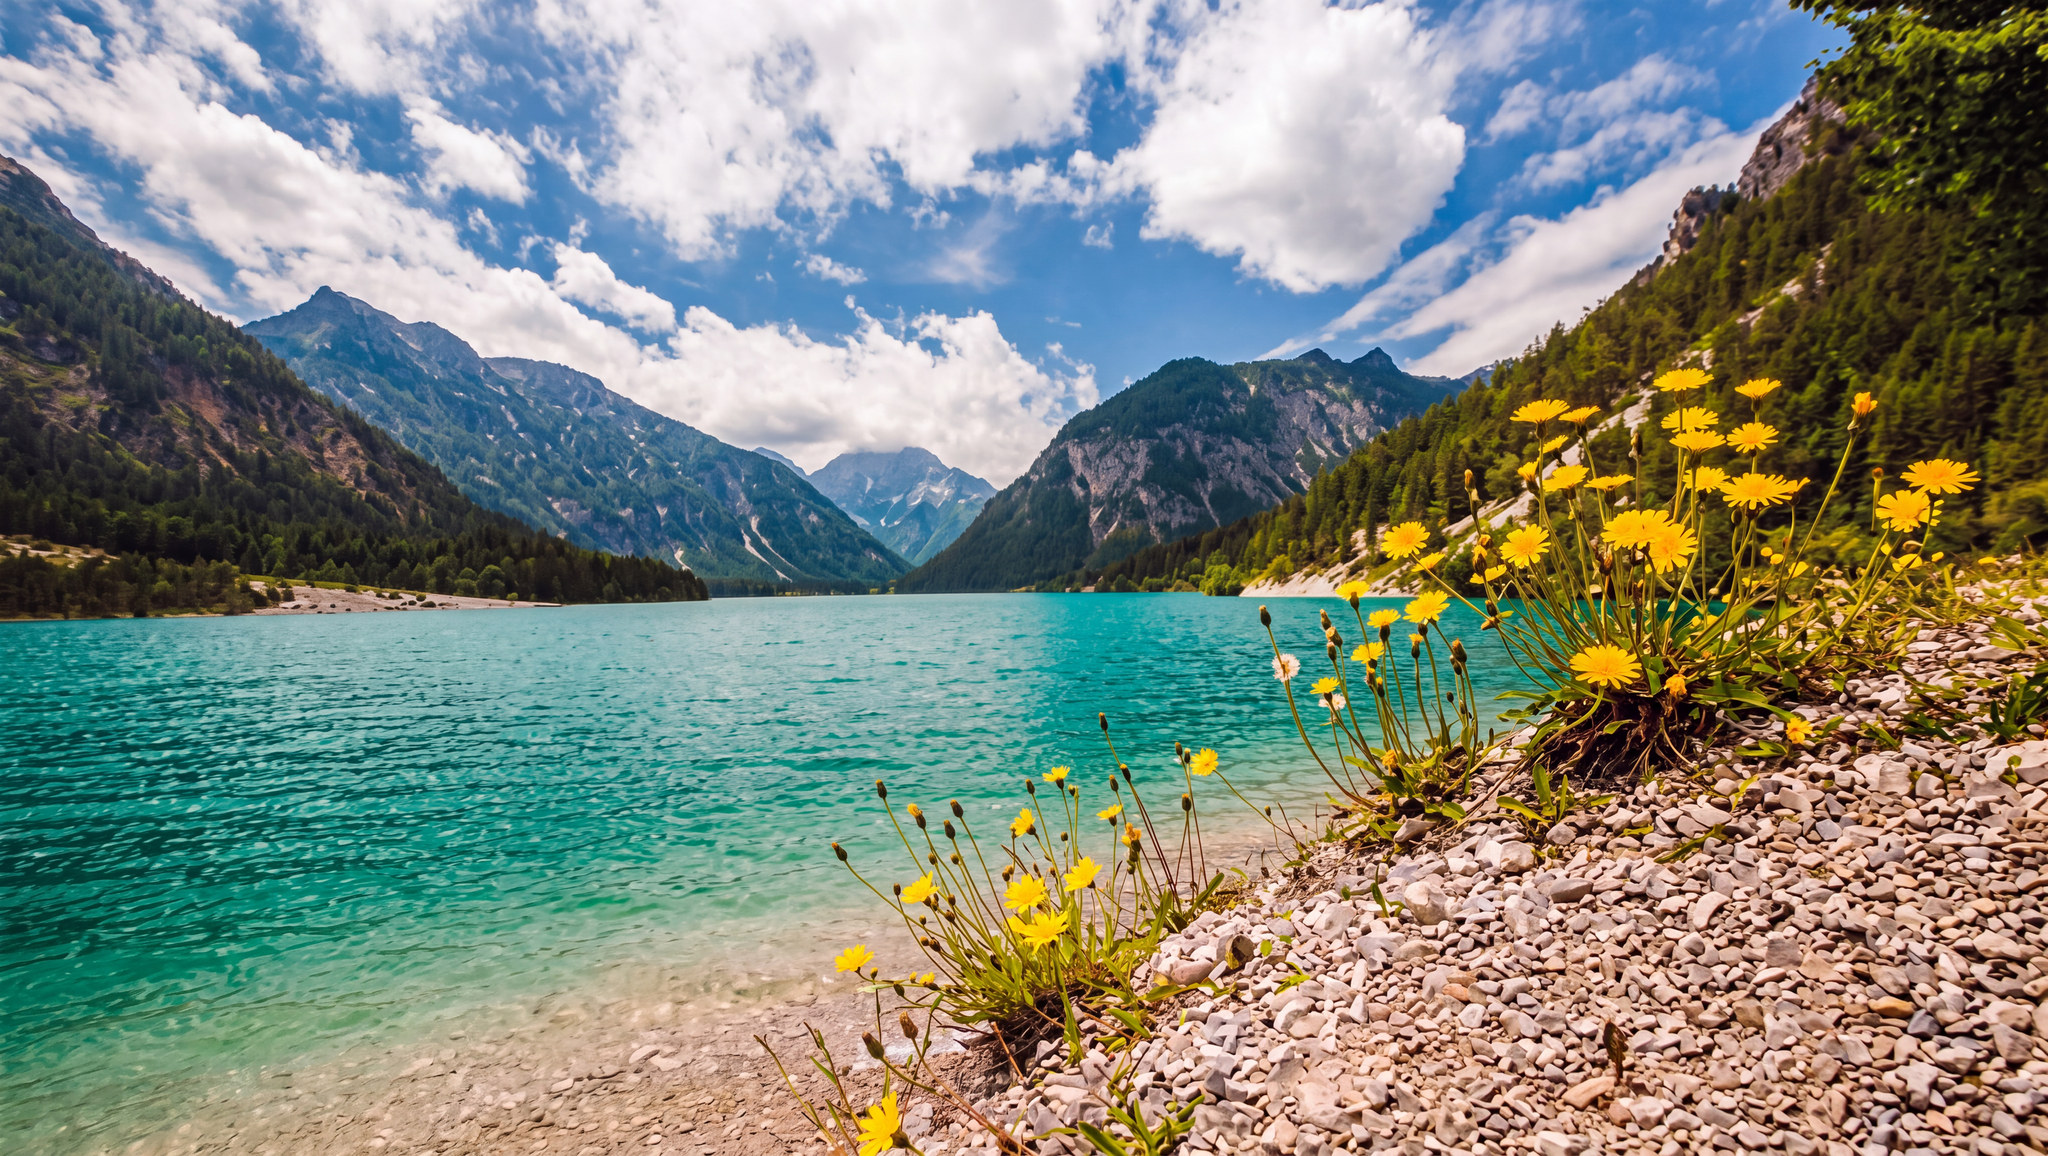
Landscape photograph before AI upscaling
The same landscape after AI upscaling, foliage and cloud edges holding their structure
491 × 277 5444 × 3072
Where this usually goes wrong

Sharp is easy. Still yours is the hard part.

There is a shortcut available to everyone in this business. Let the model reinvent the picture instead of resolving it and you get something startlingly crisp, which wins the thumbnail and loses the job, because it is no longer the photograph anybody took. We measure every result against your original, and when it drifts we treat that as a defect. Never as a house style.

See the full portfolio

Built around how people actually work

Start small, go bigger later

Not sure whether you need 4K or 8K? Take the smaller one. There is a button beside every finished result that steps it up, and it picks up from the work already done instead of starting over.

Queue the whole shoot

Start one and the upload box comes straight back. A folder of listing photos goes out in the time it takes to select them, and everything reports its own progress while you get on with something else.

Crop before you enlarge

The editor is free and costs no credits, because cropping first is simply the right order: every pixel you pay to enlarge is then a pixel you actually keep. Straighten, rotate and colour-correct while you are there.

Look before you commit

Every result arrives with a slider, a zoom and a full-screen view. Look at it properly, at the size you are actually going to use. Approving a thumbnail and finding out at the printers is how this goes wrong.

Any shape, kept exactly

Plenty of tools quietly snap your photograph to proportions that suit them and crop away the difference. Panoramas suffer worst, portraits close behind. Whatever shape goes in comes back, to a fraction of a percent.

Nothing to install

It runs in the browser you already have, on the laptop you already own, with no graphics card and no download. A six-year-old machine gets exactly the same result as a new workstation.

Who brings us work

Online sellers

Marketplaces set minimum image sizes and reward photographs a customer can zoom into. A phone shot that looked fine as a thumbnail often falls short. One upscale and the same picture carries the listing, the thumbnail and the ad.

Photographers and retouchers

Old commissions shot on smaller sensors, tightly cropped frames, and clients asking for print sizes the file was never going to reach. Upscaling buys back the resolution the crop cost you.

Designers and agencies

The image the client sent is 900 pixels wide and the billboard is not going to shrink. Enlarge it properly, keep the shape, and stop rebuilding artwork around a file that will not cooperate.

Anyone with a box of old photographs

Scan the print, upscale the scan, and the grain gets resolved instead of smoothed into a painting. It is the most rewarding thing you can do with this tool, and the results tend to surprise people.

People making things with AI

Image generators mostly stop around 1024 pixels square, which is nowhere near print and thin on a large screen. Upscaling is the standard last step, and generated images take to it beautifully.

Estate agents and interiors

Rooms keep their geometry and surfaces keep their texture, which is most of what separates a listing that reads as professional from one that reads as a phone snap.

What AI can and cannot do

Upscaling for print, and why 300 DPI confuses everybody
DPI is the most misunderstood number in photography, largely because it is not really a property of your file. It is a note stored alongside the pixels saying how densely to print them. Change it without resampling and nothing happens to the picture at all. What decides whether a print looks sharp is the pixel count, and the arithmetic is simple: inches multiplied by 300. A 4 by 6 print wants 1200 by 1800 pixels. A 12 by 18 wants 3600 by 5400. A 24 by 36 poster wants 7200 by 10800, which is more than a 24 megapixel camera produces. That is why upscaling and printing go together so often. Photographers hit the ceiling constantly, usually after cropping, and a good enlargement is the difference between a print that survives being looked at closely and one that only works from across the room. Our sizes map onto this directly: 2K covers A4, 4K covers A3 and most framed work, 6K and 8K take you into posters and banners.
Why product photography is where upscaling pays for itself
Online, the photograph is the product. Nobody can pick your fabric up, so the only information a buyer gets about quality is what your image shows them, and every major marketplace has worked this out. They set minimum dimensions, they favour listings you can zoom into, and they push blurry uploads down the page. Meanwhile most small sellers are shooting on a phone, cropping hard to lose a messy background, and ending up with something that was fine on the screen they shot it on and thin everywhere else. Upscaling to 4K closes that gap for about the price of a cup of tea. Weave, stitching, grain, printed labels and the small imperfections that make a real object look real all survive the enlargement, so a buyer who zooms in finds more reasons to buy, not a wall of soft pixels. The same file then covers the listing, the thumbnail, the ad and the catalogue, which is the part sellers underestimate: you are not buying a bigger image, you are buying one photograph that stops needing to be reshot.
Restoring old family photographs, honestly
This is the use that gets the warmest emails, and it deserves a straight explanation of what to expect. Start with the scan, because everything downstream depends on it. Scan the print; do not photograph it. Use the highest resolution your scanner offers even if the file feels absurdly large, and work from the original print, never a copy of a copy. From there, upscaling resolves what the film recorded: grain becomes grain again instead of a grey wash, fabric gets its weave back, and faces recover the texture that makes them read as people instead of illustrations. What it does not do is repair. Scratches, water stains, creases, tape marks and torn corners are damage to the physical object, and an upscaler is not a restorer. It will not colourise black and white either, which we consider a feature: a colourised photograph is a guess wearing your grandmother's face. If the original is very small or very soft, be careful with faces. Where there is little information to work from, any model fills the gap with something plausible, and plausible is not the same as accurate. Use the slider, and trust your own eyes about whether the person looking back is the person you remember.
What we refuse to do
Occasionally, holding the line on faithfulness means handing back something a shade less dramatic than a competitor would, and we are at peace with that, because a portrait that is no longer your subject has failed at the only thing it was asked to do. The other half of the answer is knowing where the limits are and saying so out loud. Motion blur cannot be undone. Text nobody could read cannot be recovered. A face a few pixels across cannot be reconstructed reliably. Every one of those is written plainly in our help centre, before you spend anything, because a customer who knows what to expect is a customer who is happy with what arrives. Losing a sale to honesty costs us less than winning one and refunding it.
What about the free upscalers?
Use them. Genuinely. If you need one image at modest size for a blog post, a free tool will very likely do the job, and you should hear that here before you feel sold to. Where they tend to fall down is everything around the edges: a watermark across the result, a cap somewhere around 2x, queues that stretch into the evening, no way to keep your files, quiet ownership terms, and results that snap your photograph to a shape it never had. Our own free plan exists for exactly this reason. Real credits every month, no card, and the same output a paying customer gets, so you can judge it on your own photograph before deciding whether any of this is worth money. If it is not, no harm done.
Upscaler, enhancer, enlarger: what the words actually mean
These get used interchangeably and it causes real confusion at the point of buying. An image upscaler increases resolution: more pixels, more detail, a bigger file. A photo enhancer changes how the picture looks, meaning brightness, contrast, colour, sharpening and noise, usually at the size it already is. A photo enlarger is generally the same idea as an upscaler, borrowed from the darkroom. Increase image resolution and make an image bigger without losing quality are the phrases people actually type, and both describe upscaling. Image resizing is the plain version that adds pixels by averaging their neighbours, which is why it goes soft. Upscela is an upscaler first, and the free editor covers the enhancing side. Working out which one you need is usually the whole difference between fixing your problem and buying the wrong subscription.
The free editor, and why it costs nothing
There is a full photo editor here and nobody pays for it, on any plan, including no plan at all. Crop with a locked ratio or to exact pixel dimensions, straighten a horizon, rotate and flip, then work on brightness, contrast, saturation, warmth, tint, highlights and shadows with a live histogram showing what you are doing to the picture. There is an Auto button when you want a sensible starting point, and a hold to compare button for checking you have not gone too far. Export as JPG, PNG or WEBP at whatever quality and size you like. It runs entirely inside your browser. Your photograph is never uploaded to us, and that is precisely why it can be free: it costs us nothing to run, because it runs on your machine and not on ours. It also means it works perfectly well on a picture you have no intention of upscaling, and you are welcome to use it that way and never spend anything. The reason it sits beside the upscaler is the order the two belong in. Crop first, and every pixel you pay to enlarge is a pixel you decided to keep. Straighten first, and the enlargement is working on a level picture. Get the colour roughly where you want it first, and you are judging the result on its own merits. When you are done there is one button that hands the edited image straight to the upscaler, with nothing to save and nothing to upload twice.

Talk to us

Feedback, a bulk enquiry, or something that did not work. A person reads every message.

Contact support

Secure processing